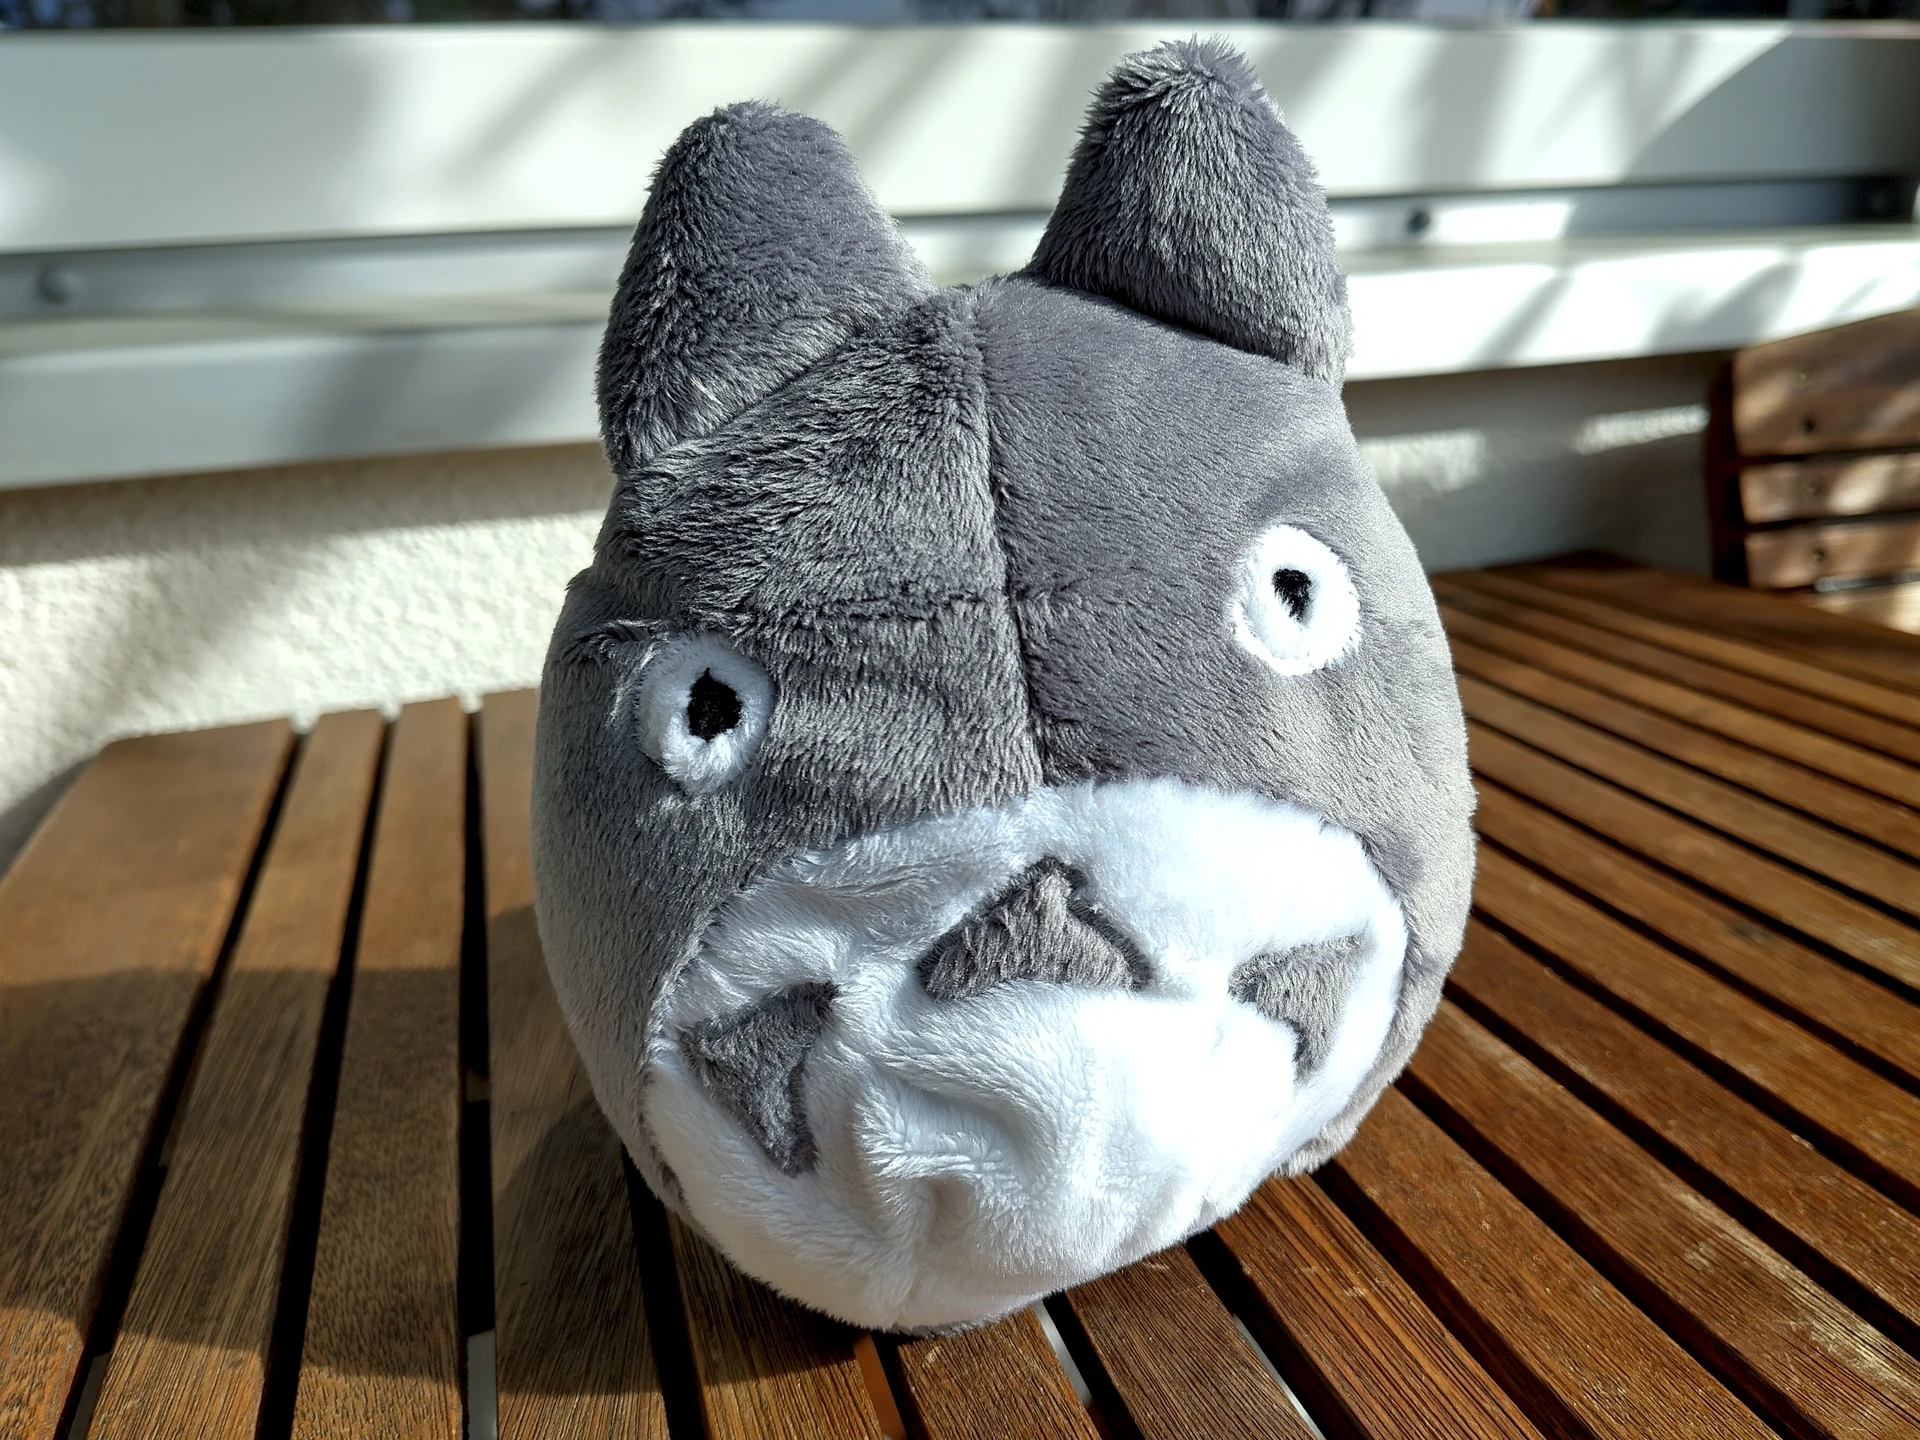
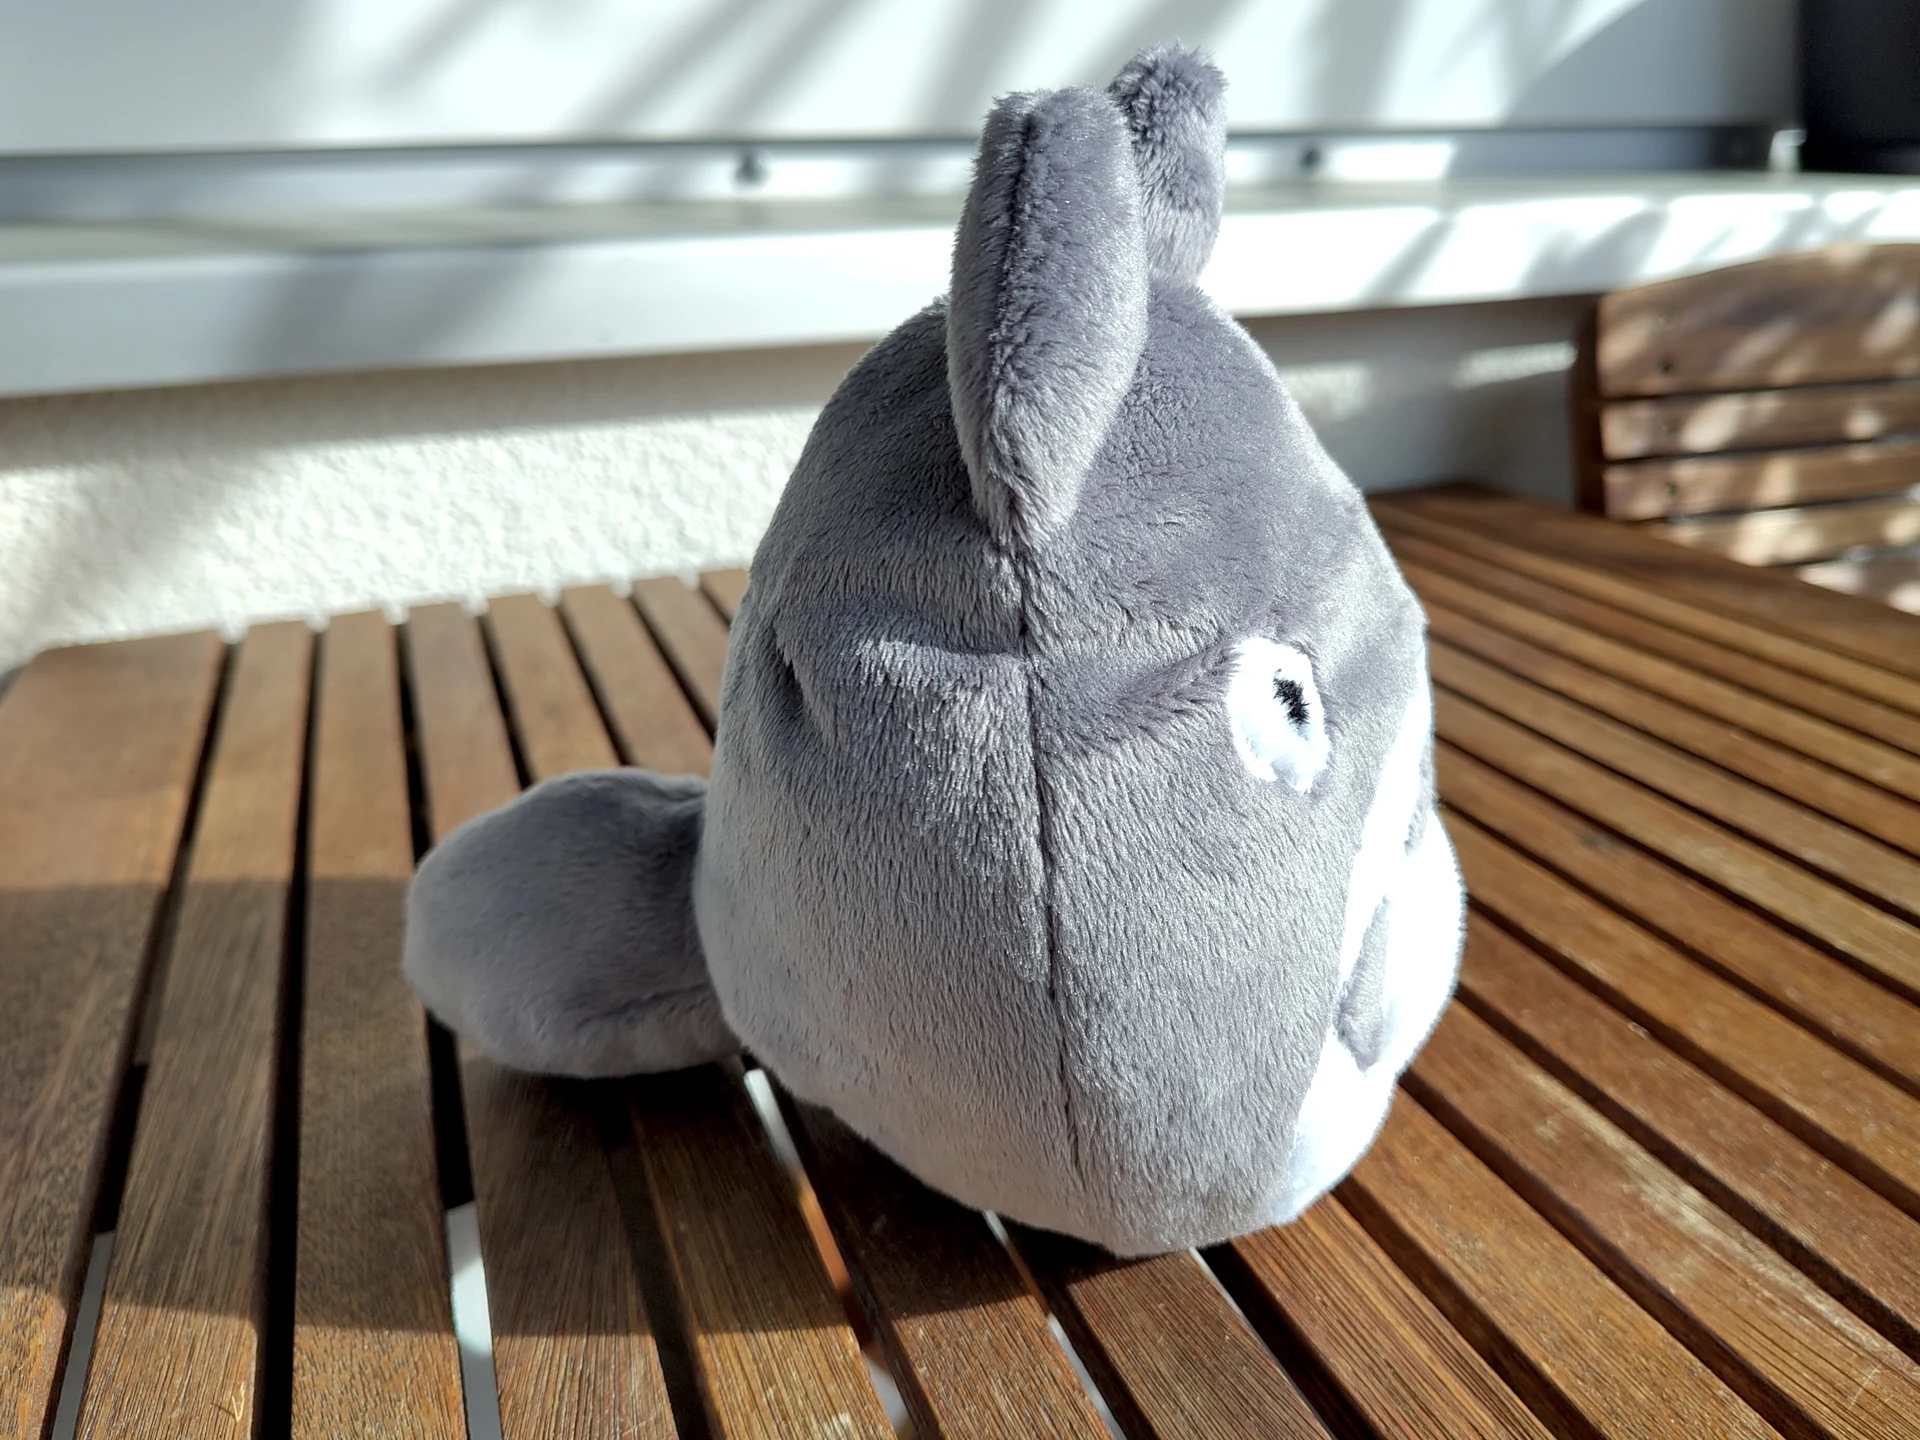
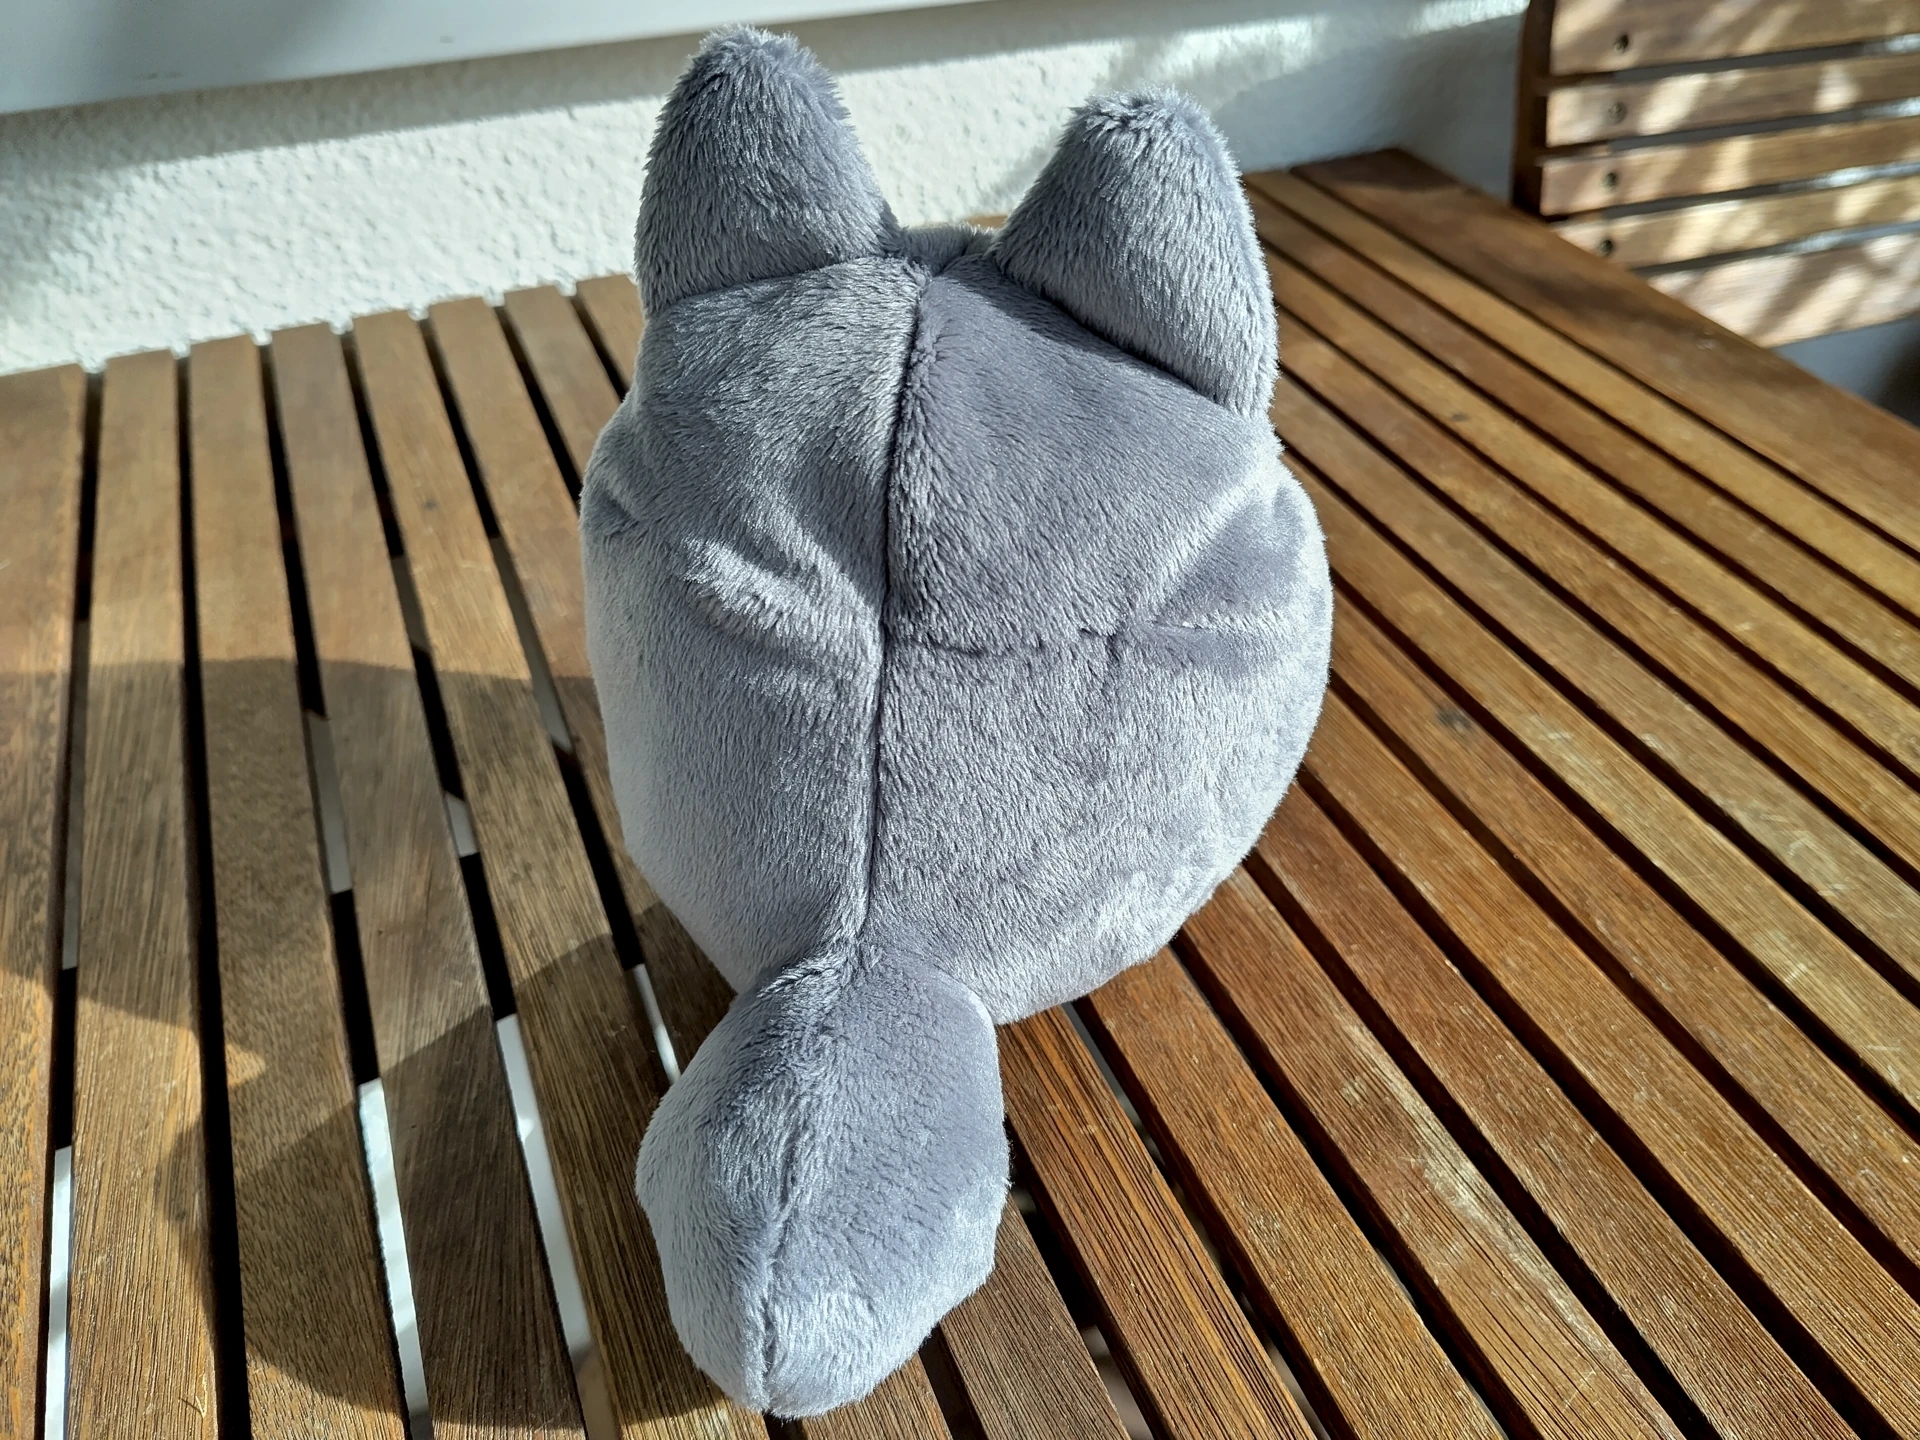
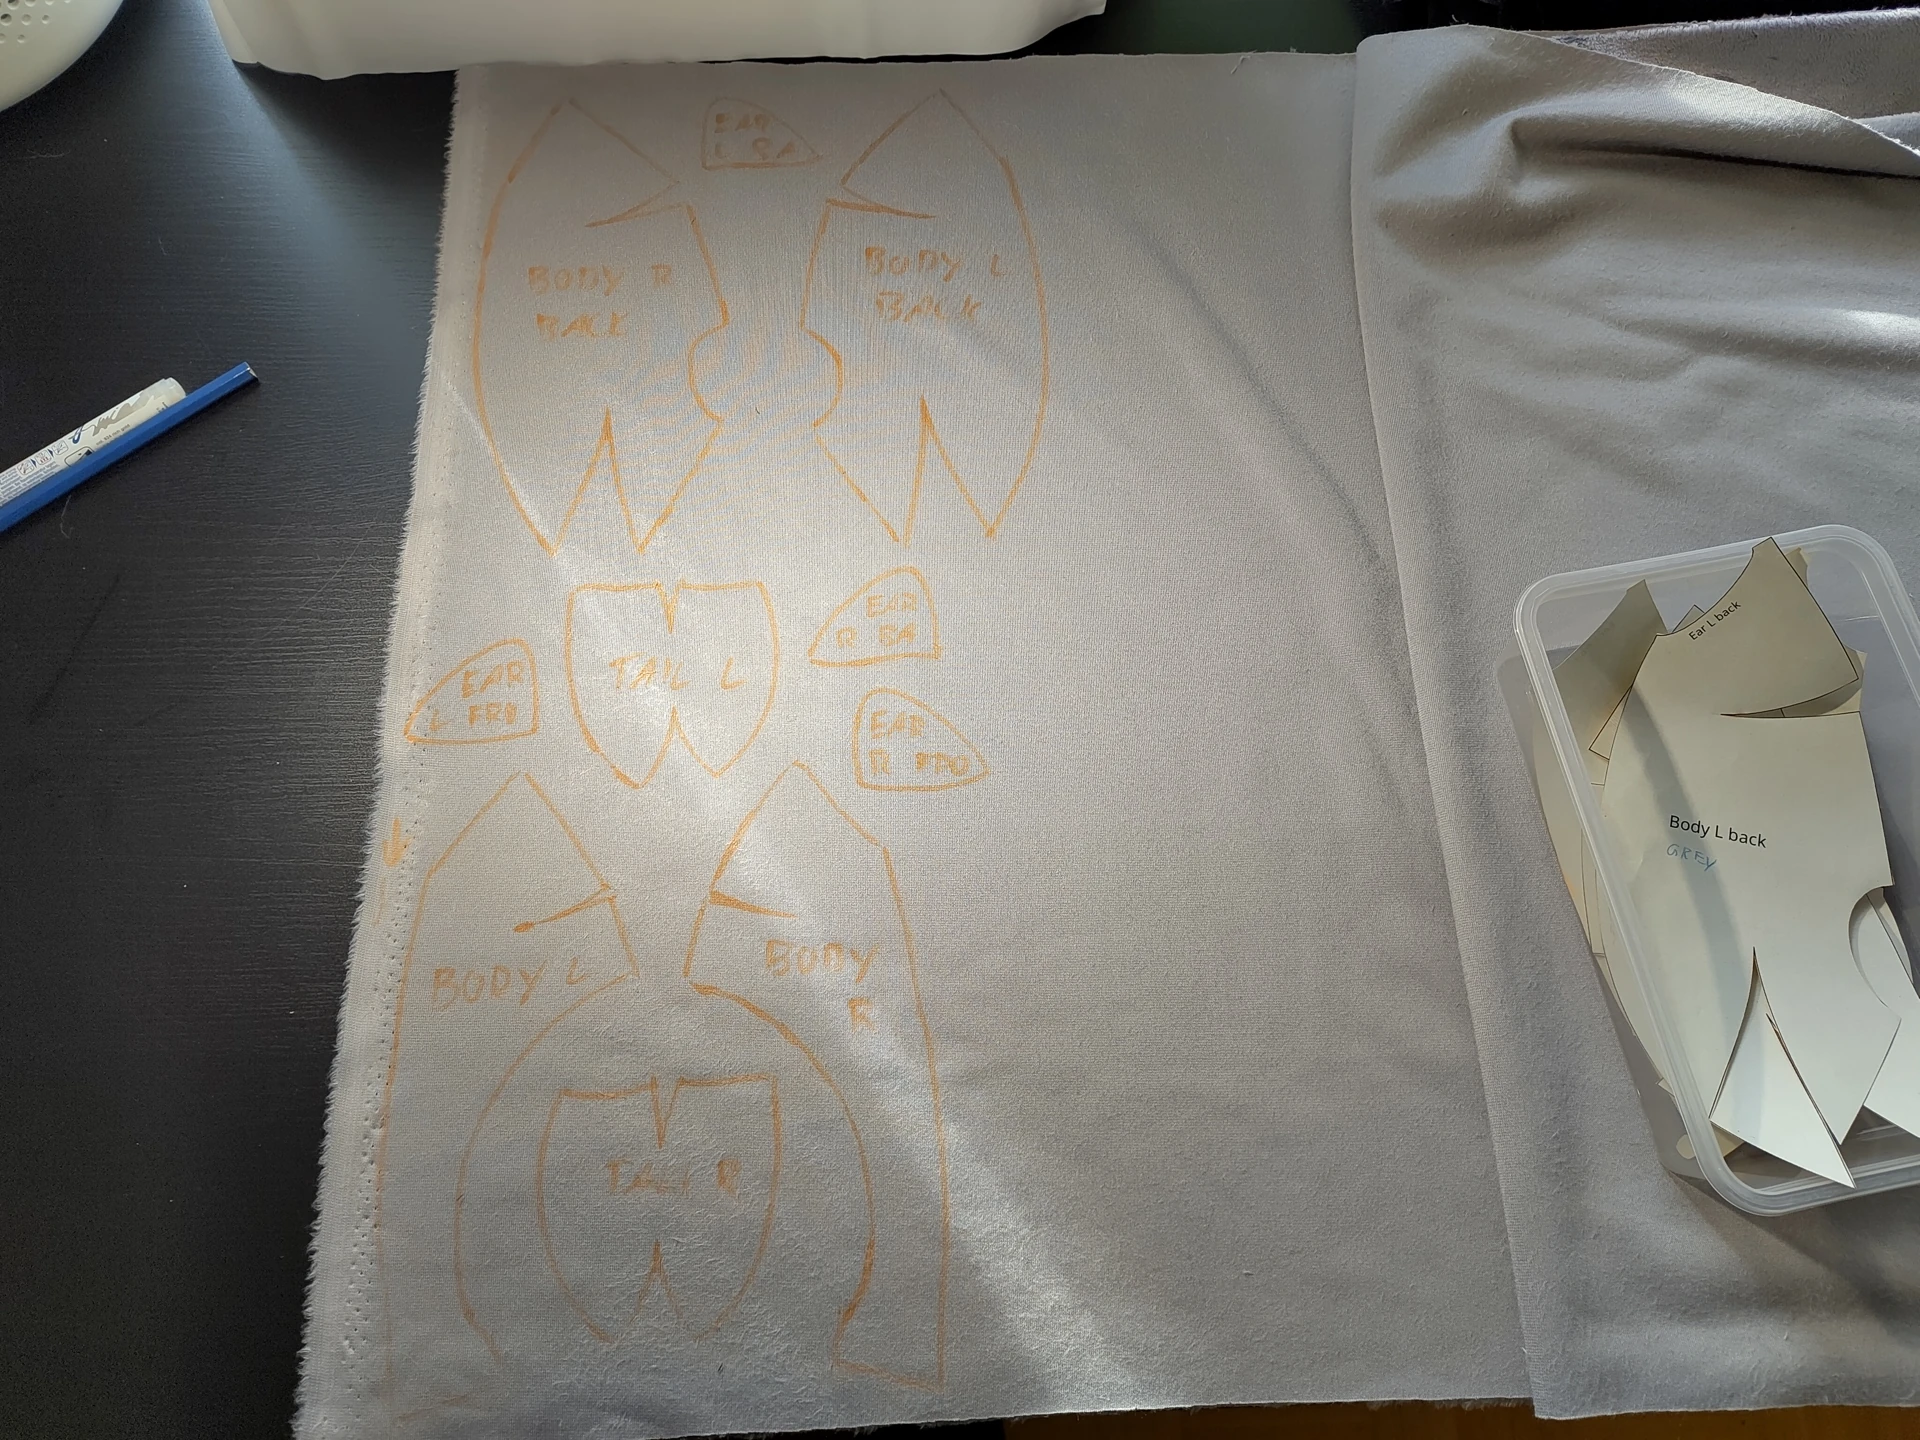
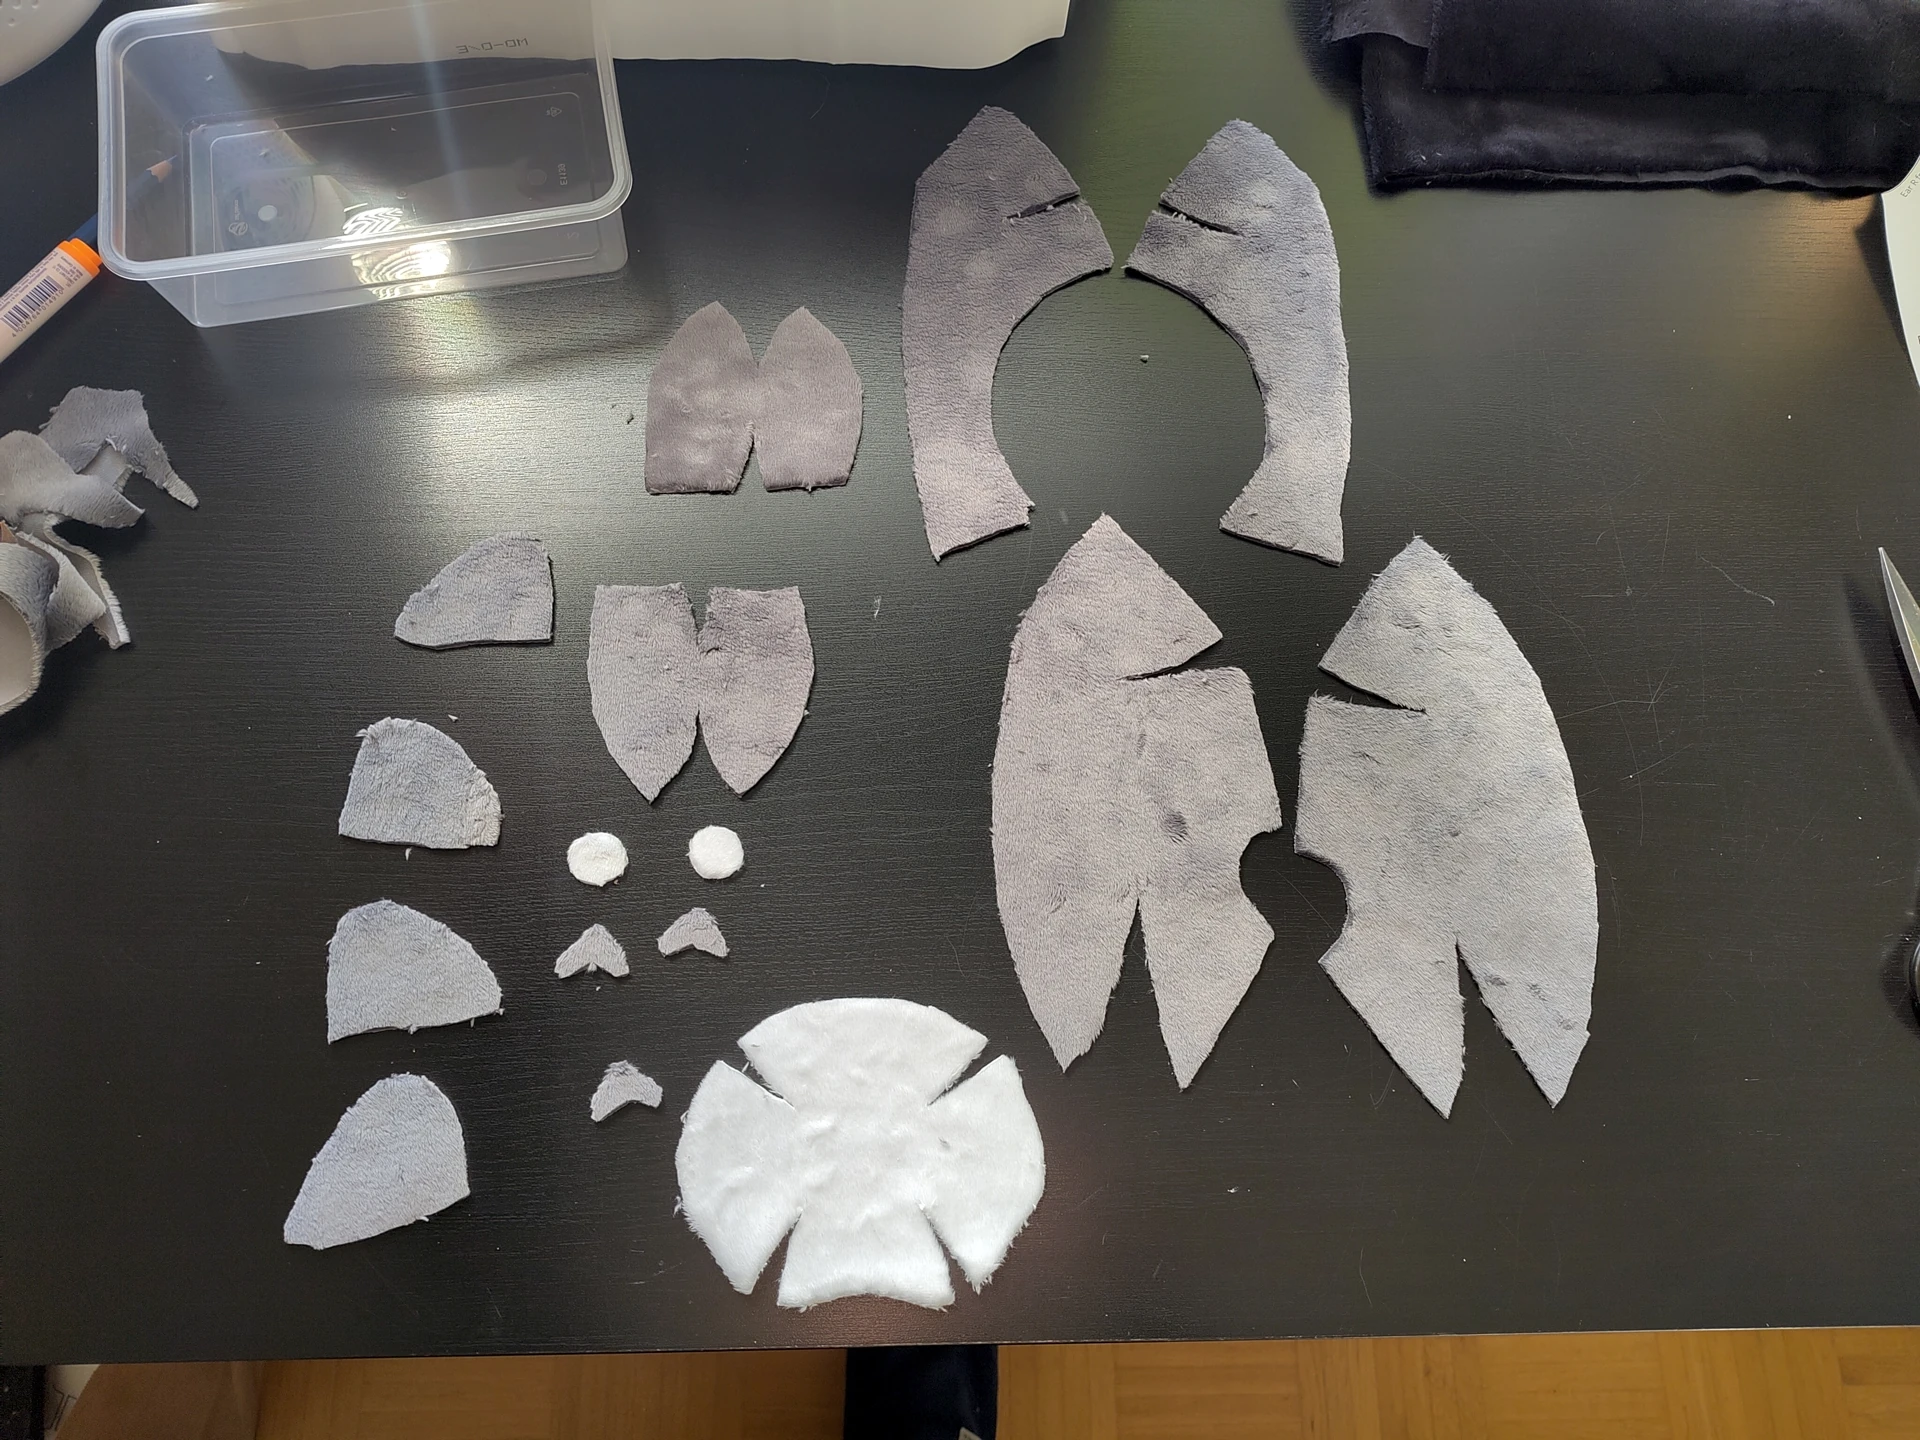
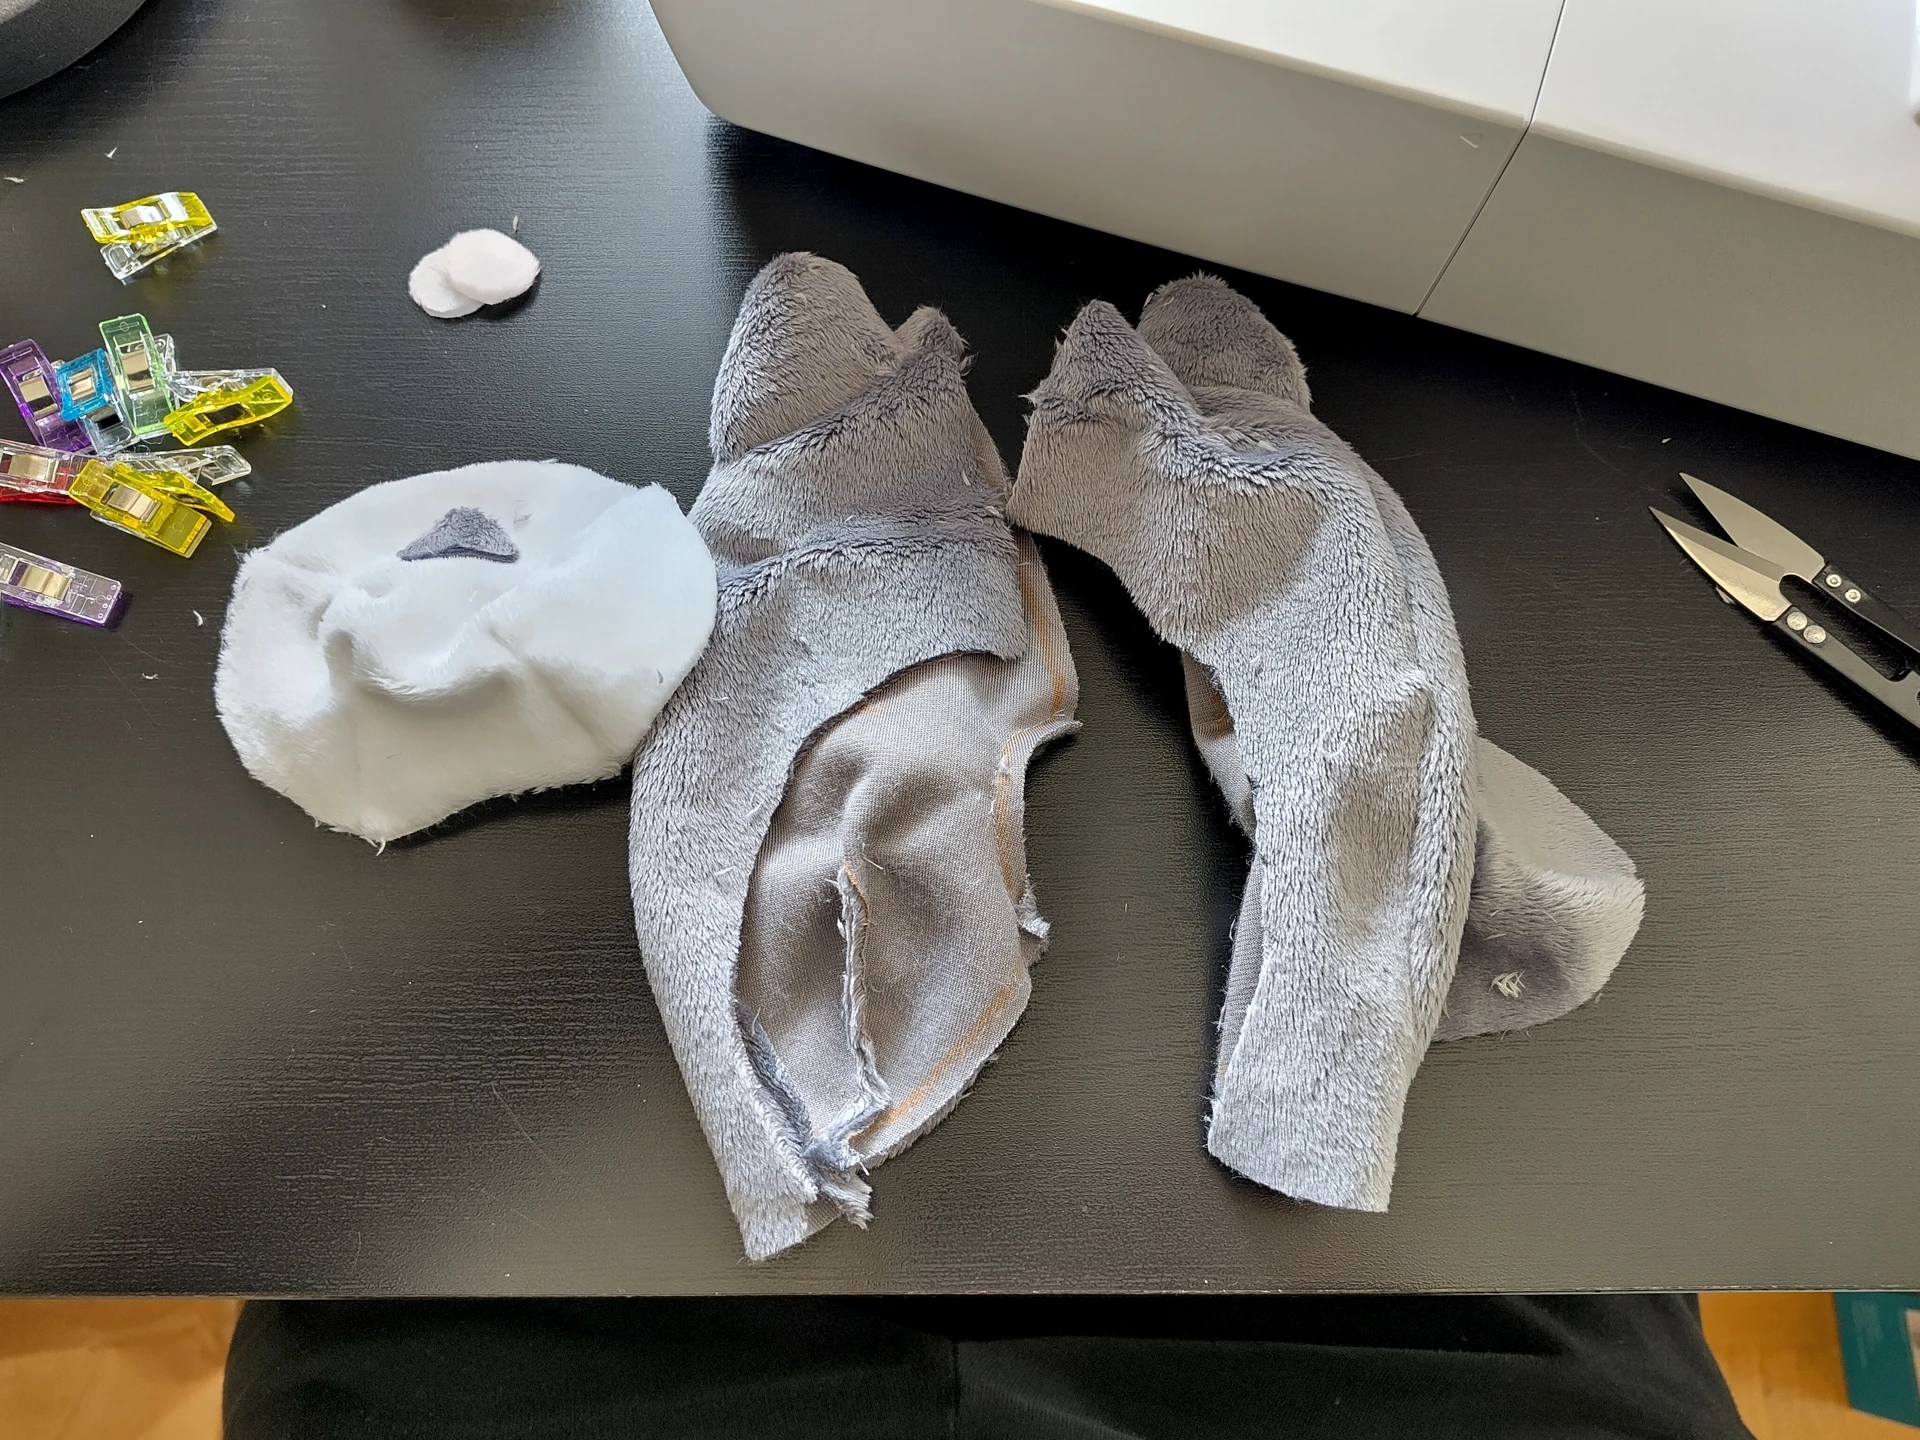
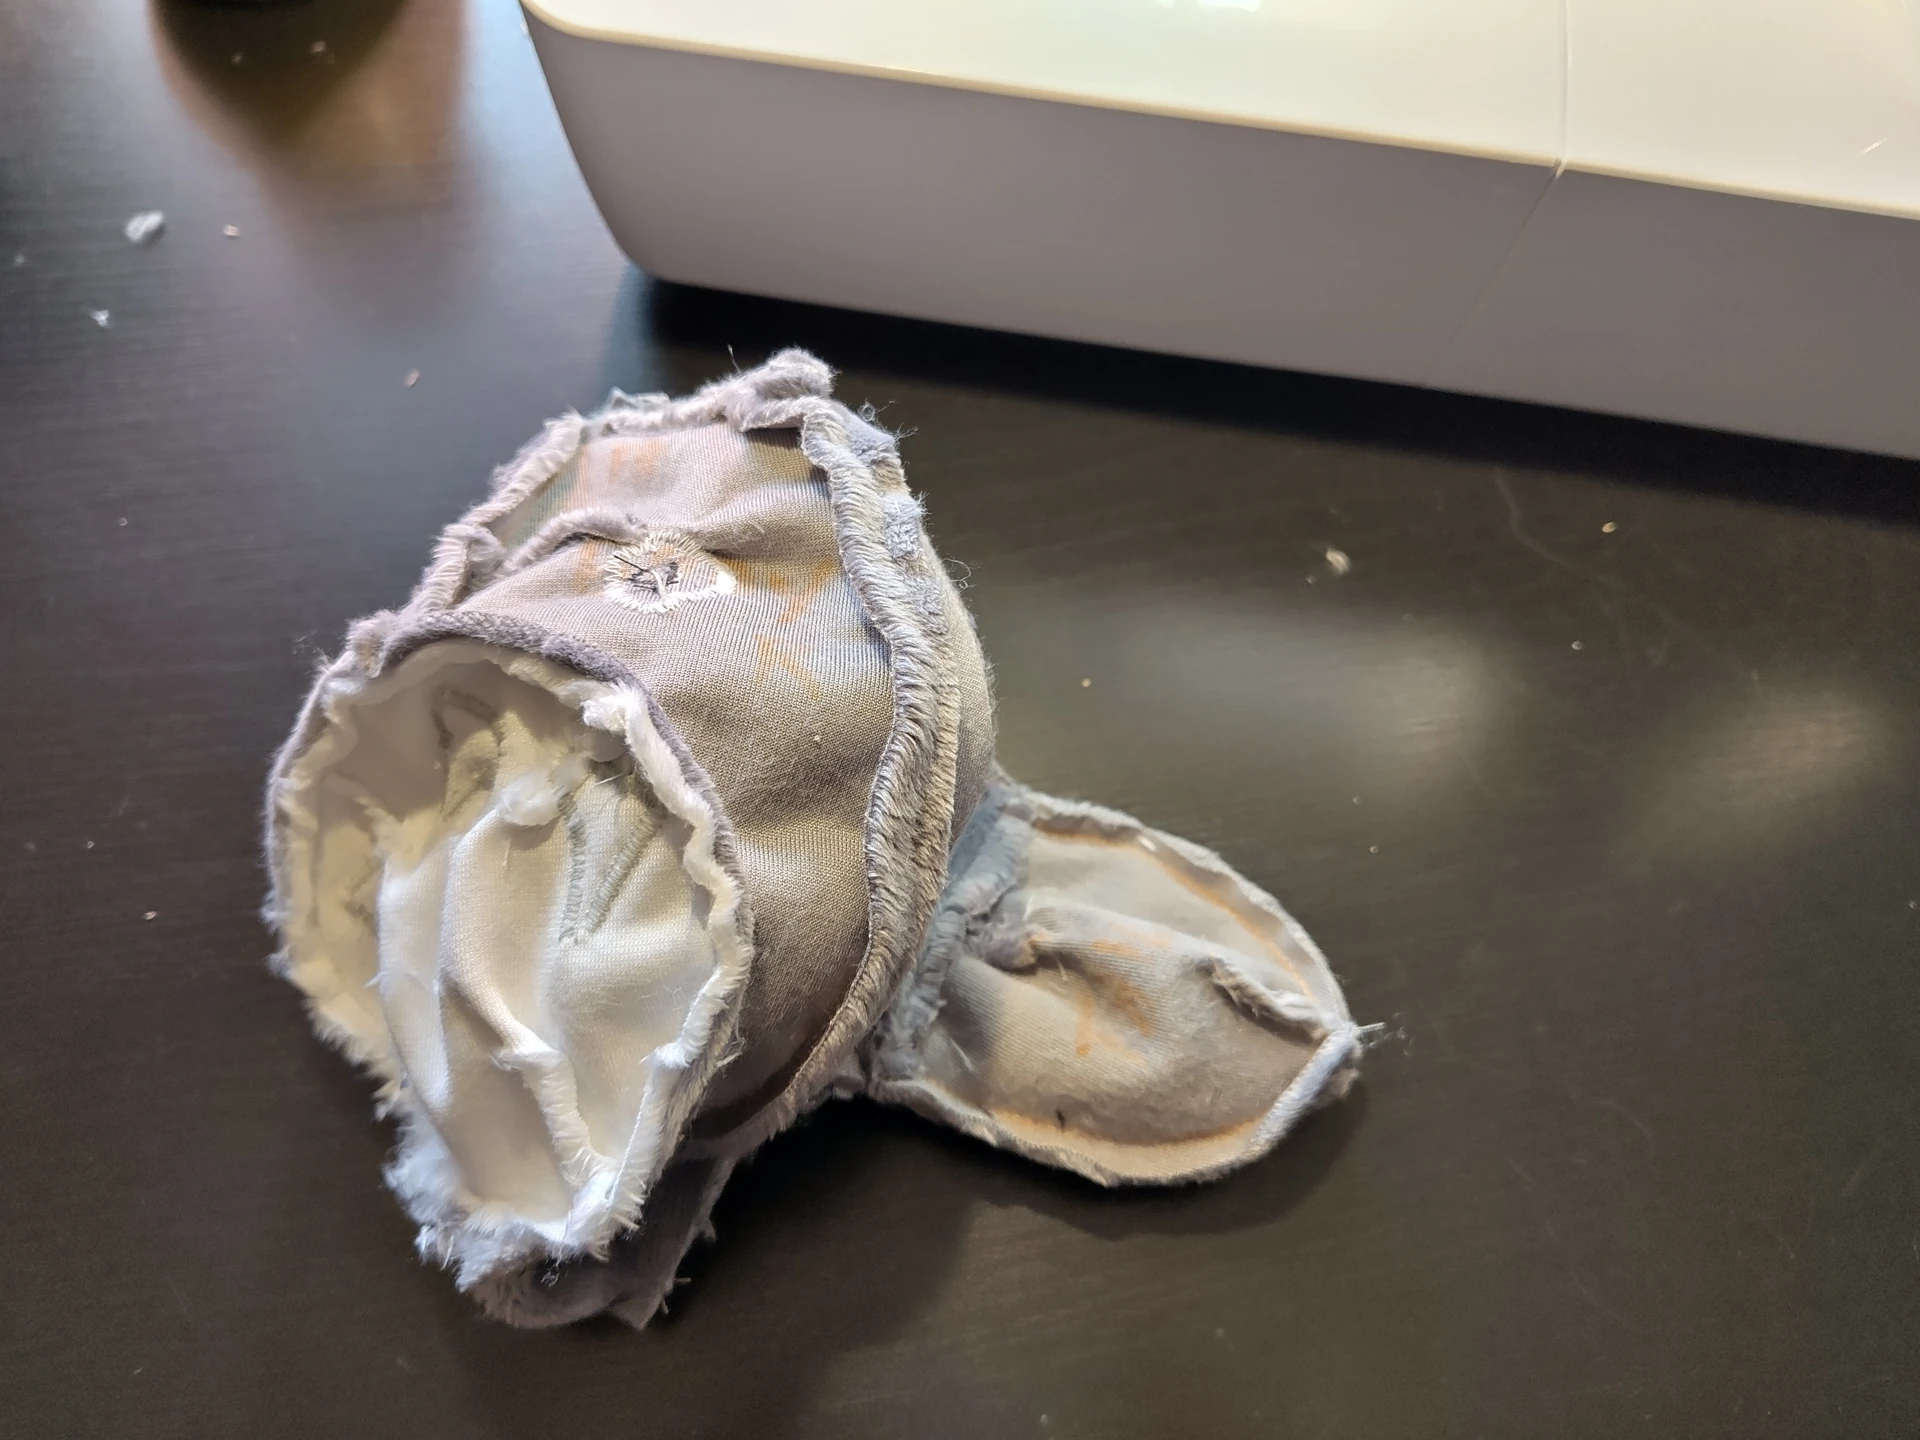
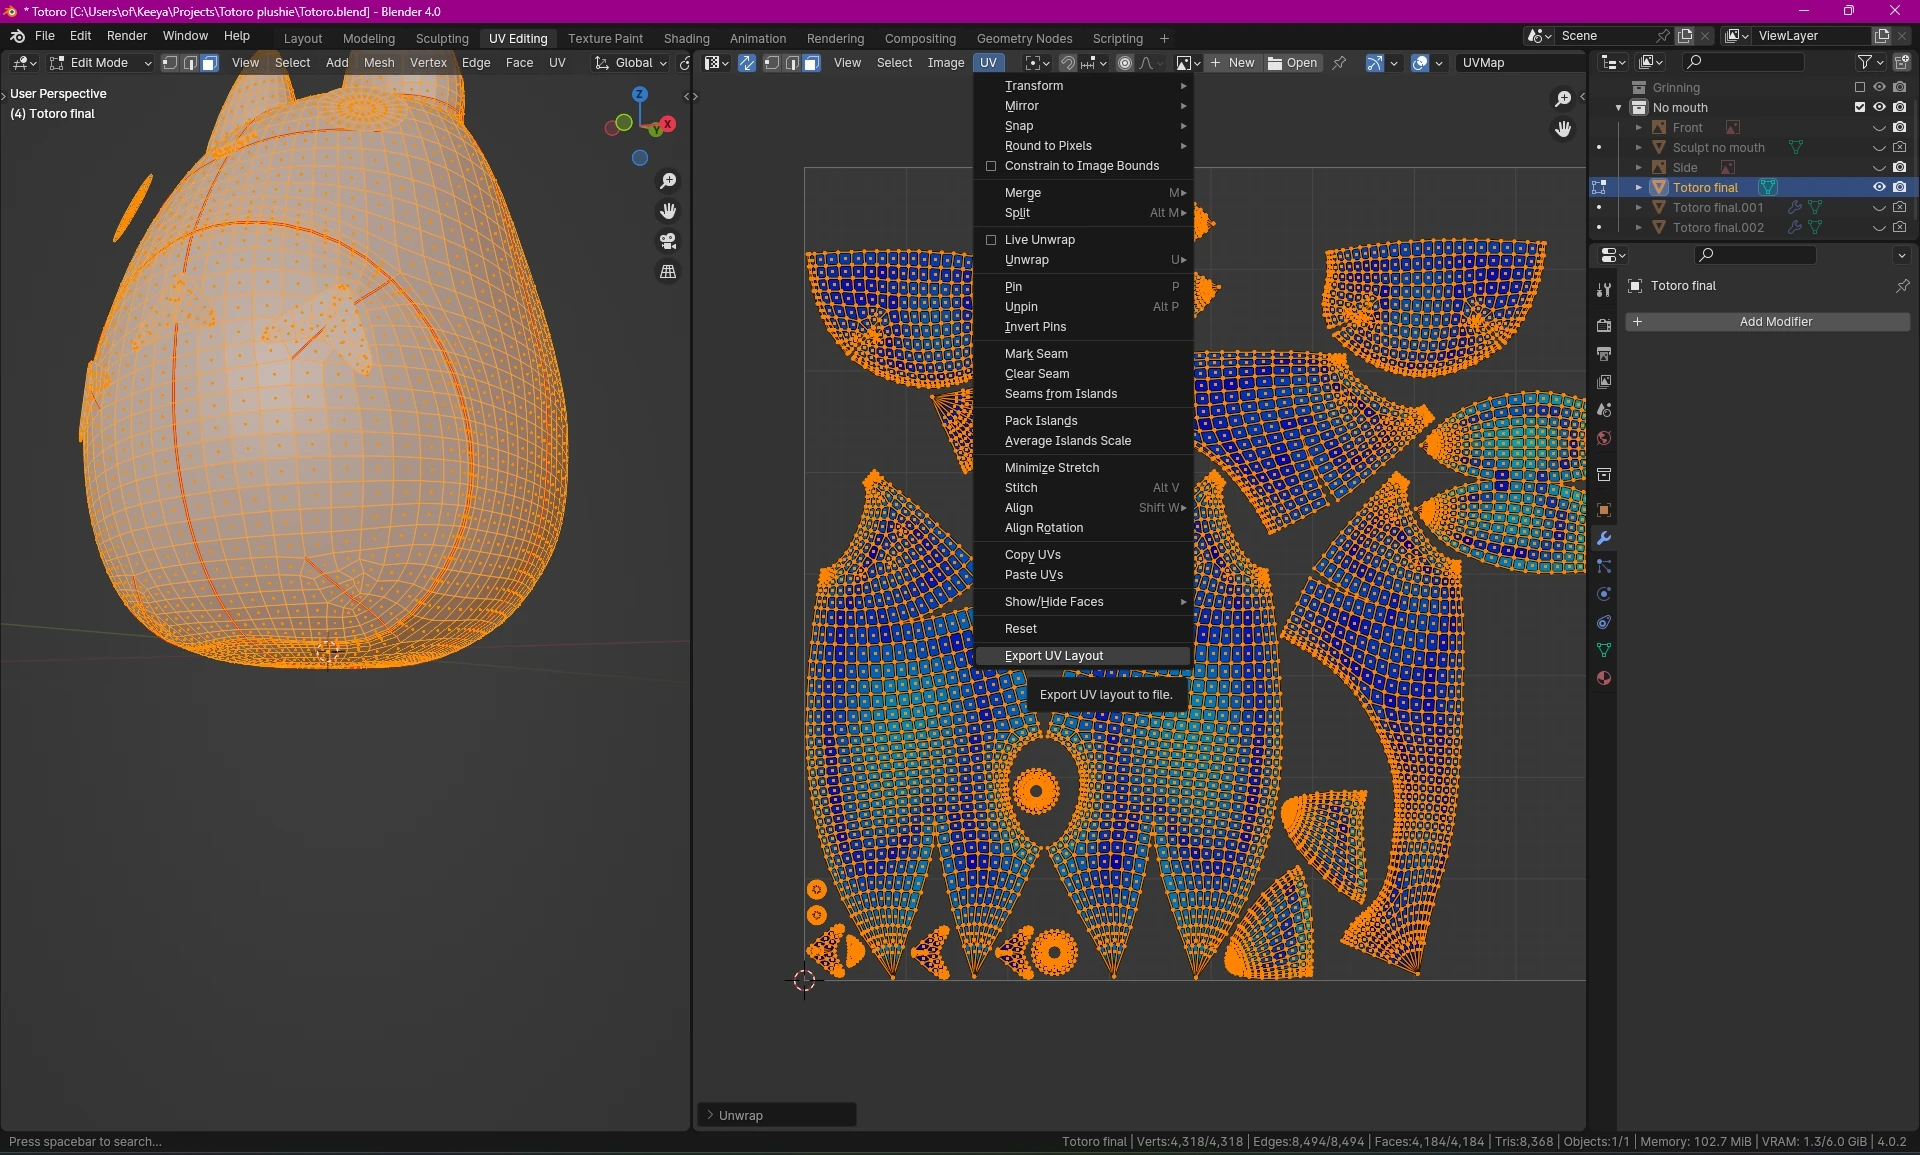
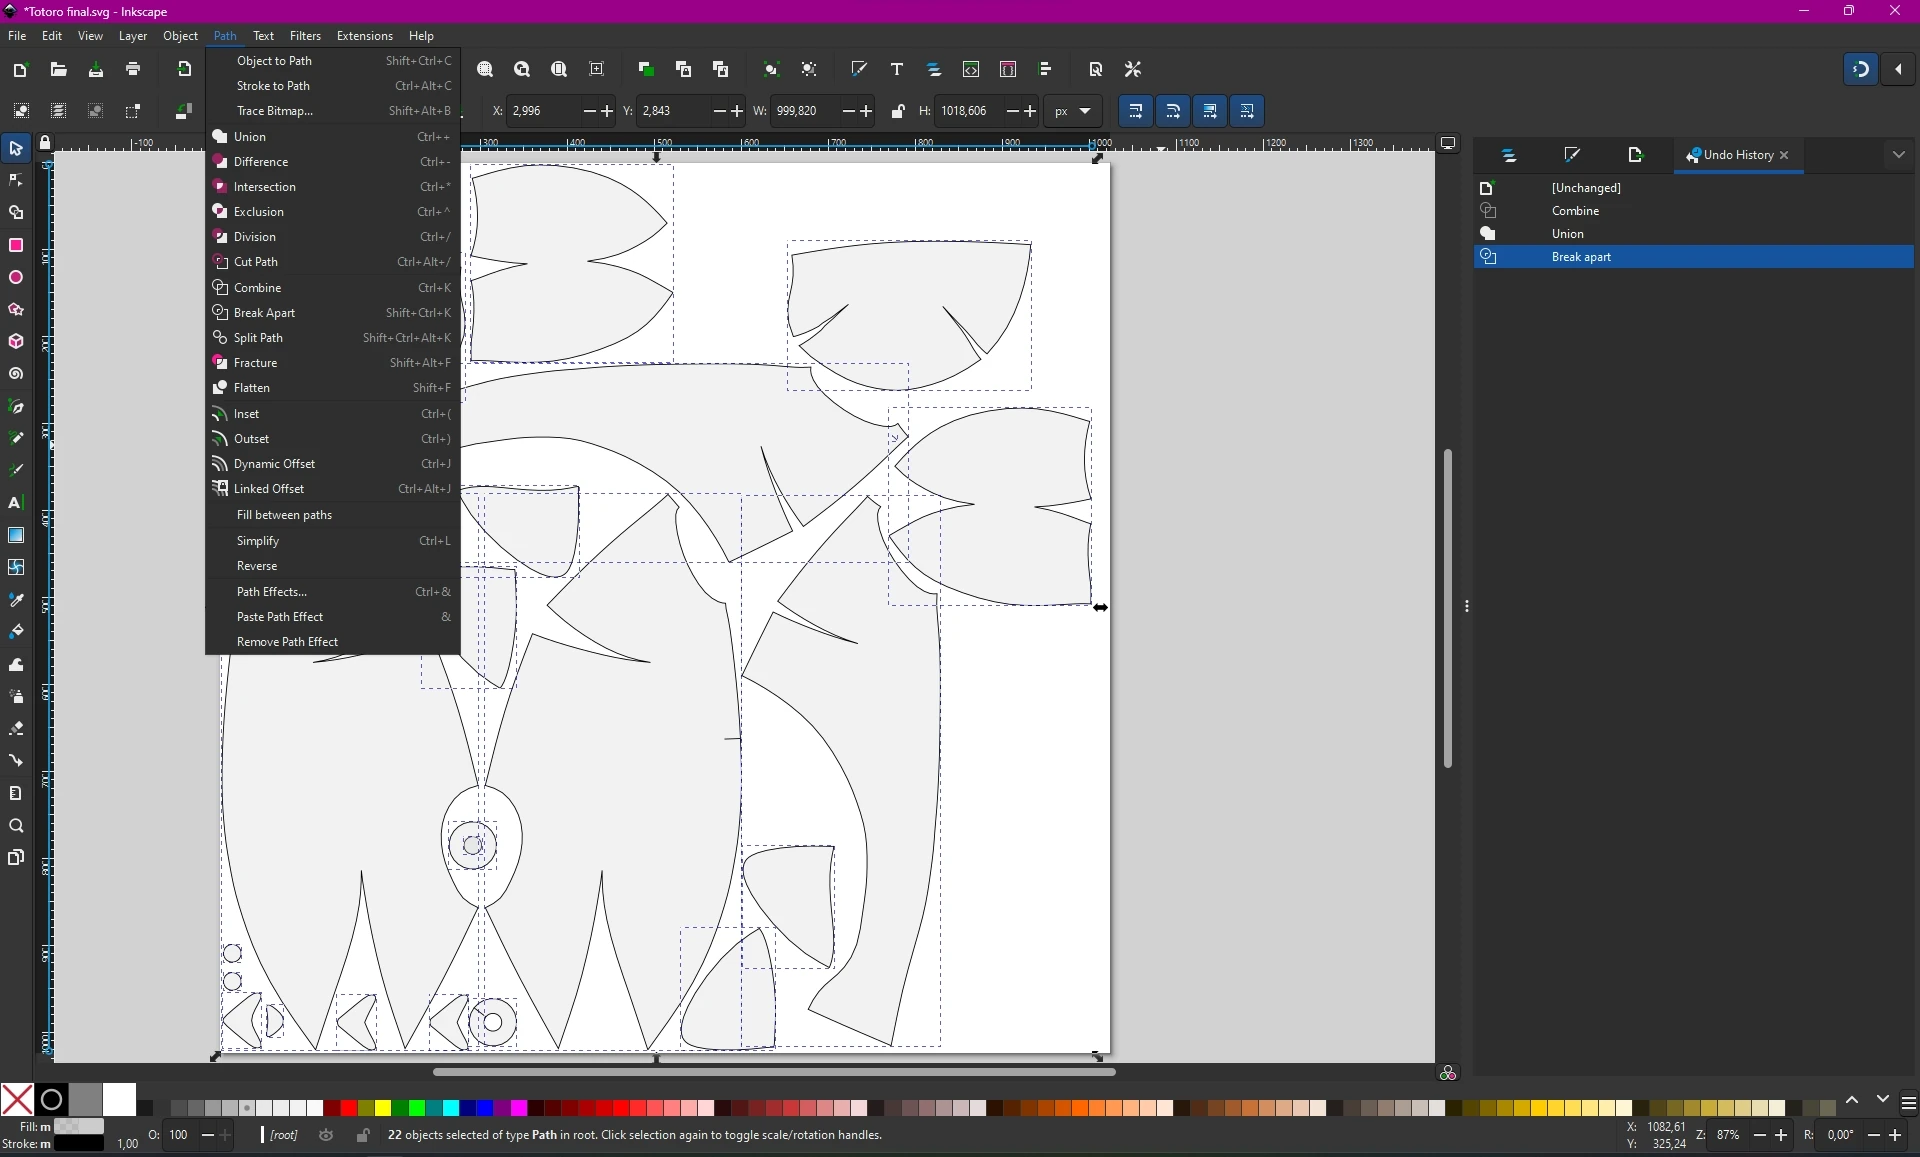
Here is the whole process of creating Totoro. I made the model in Blender first and then exported the UV map into an SVG. That created a rather messy vector with over 4000 shapes, one for each face. Using Inkscape’s “Path Combine”, then “Union” and finally “Break apart” turned it into a nicely looking vector that could be added freely. Only the path combine was extremely slow with 4000 objects, ran for like 10 minutes on my computer.
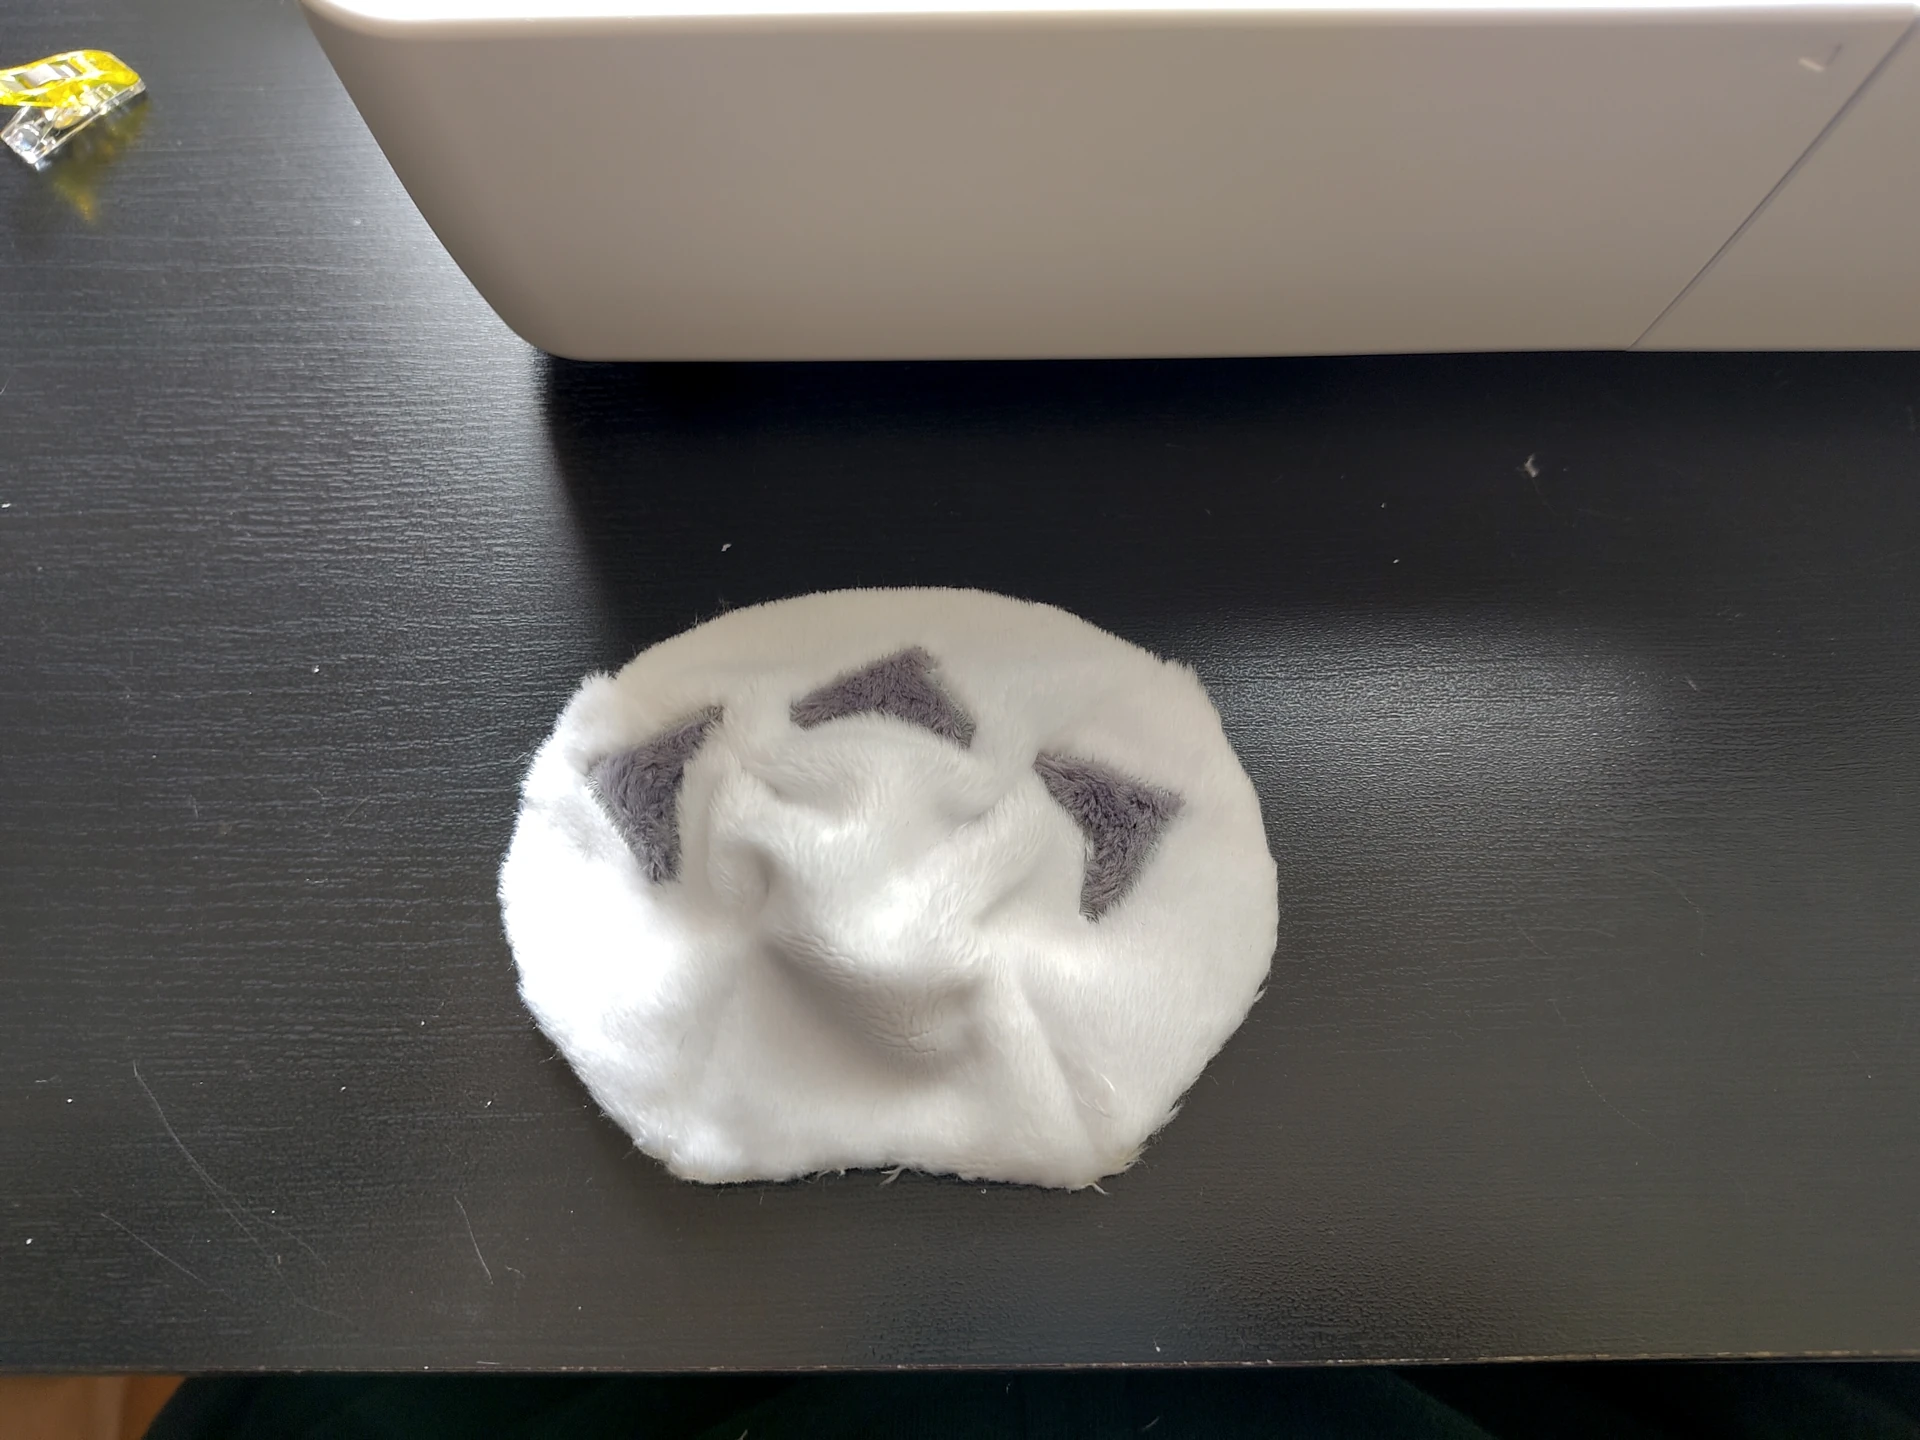
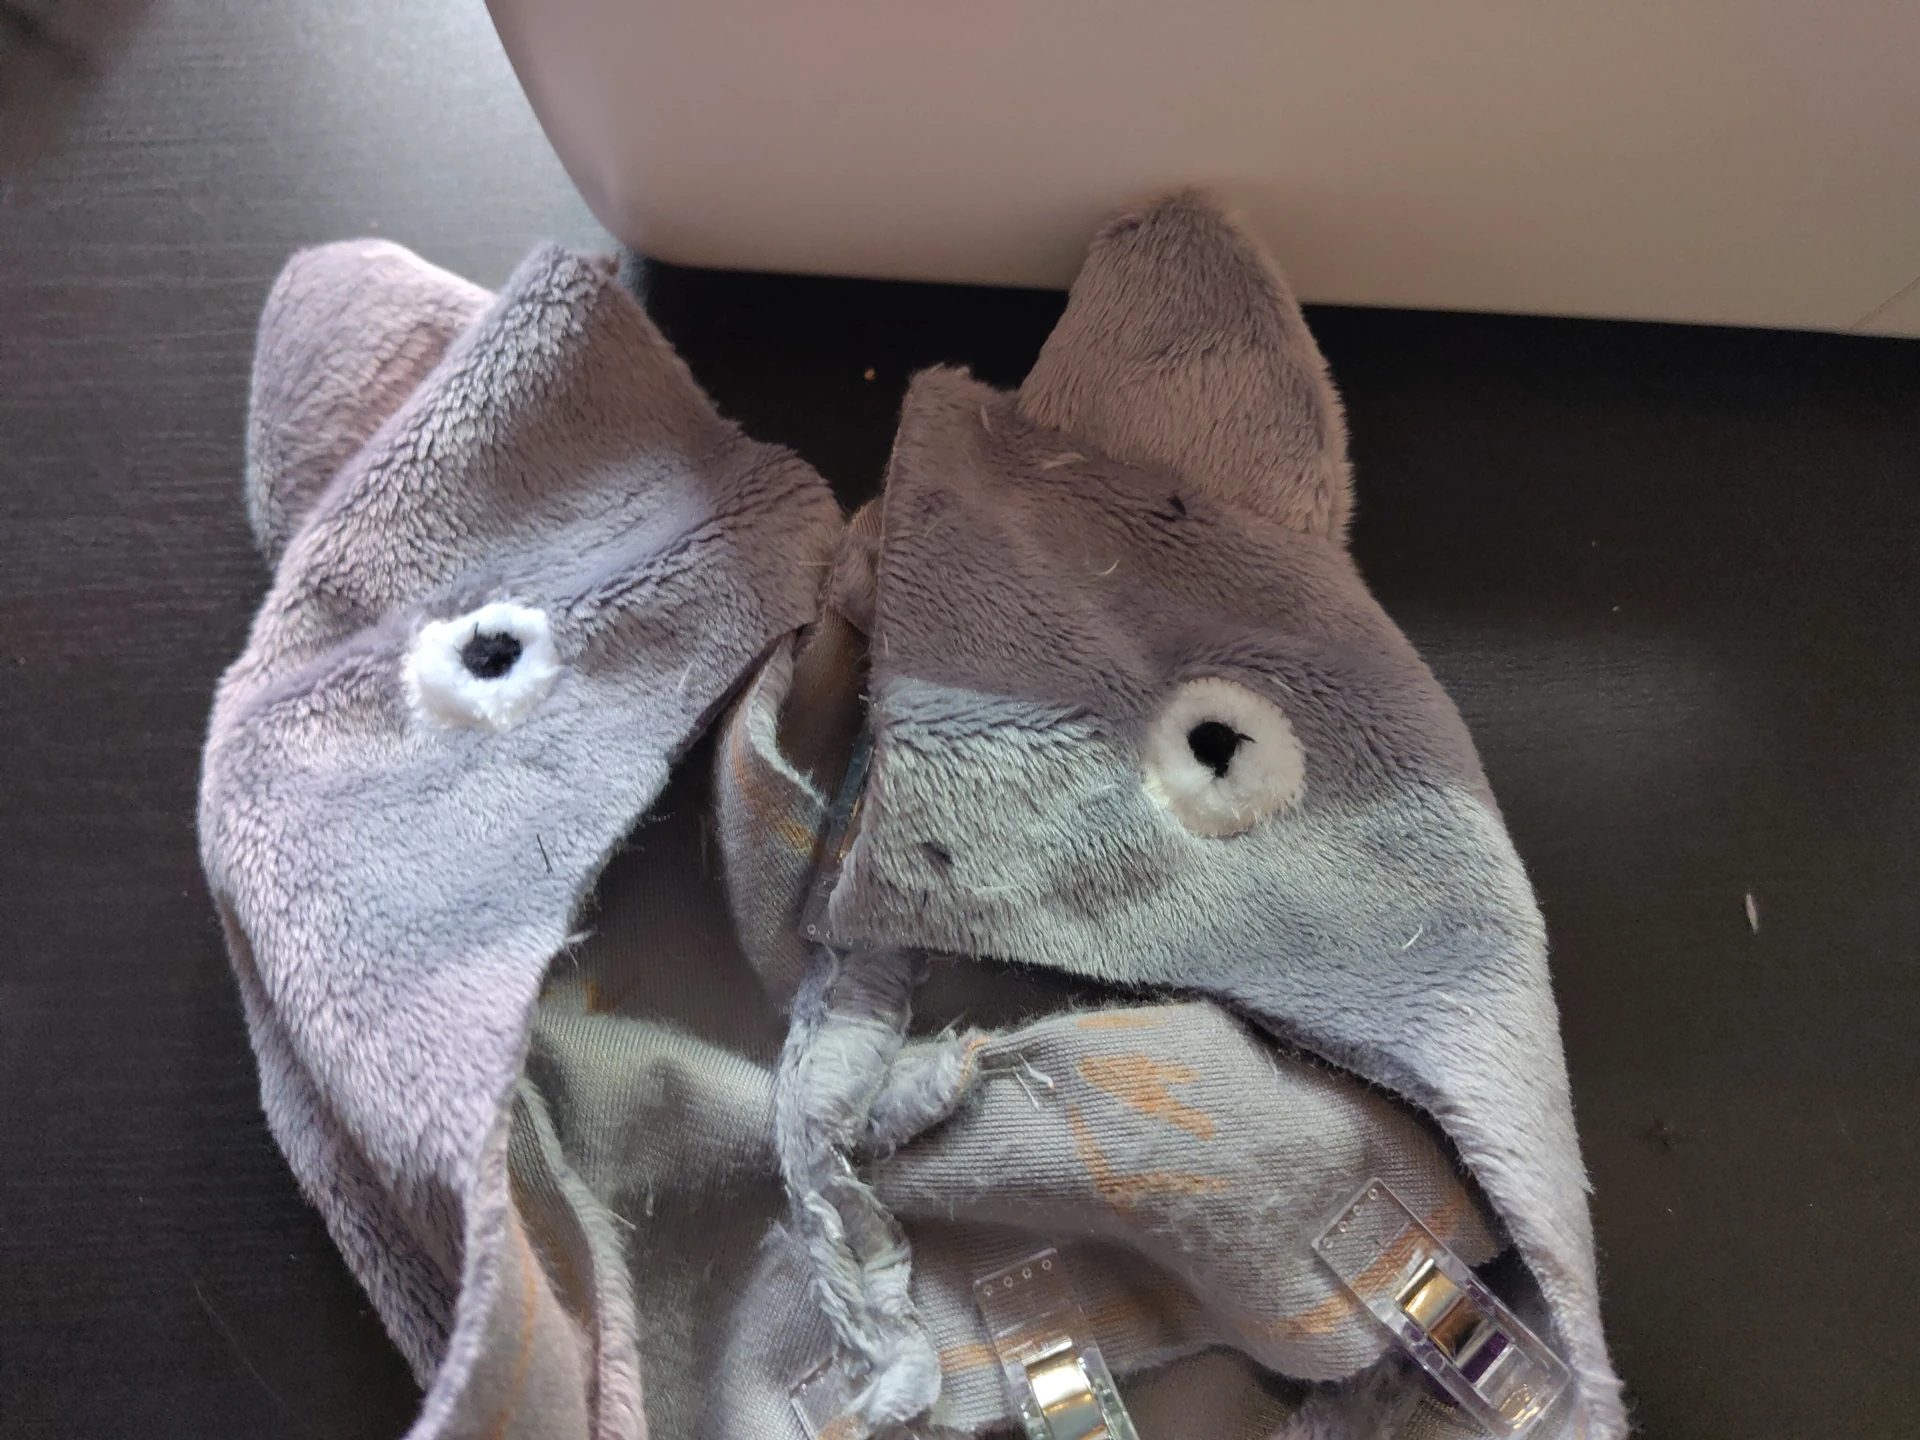
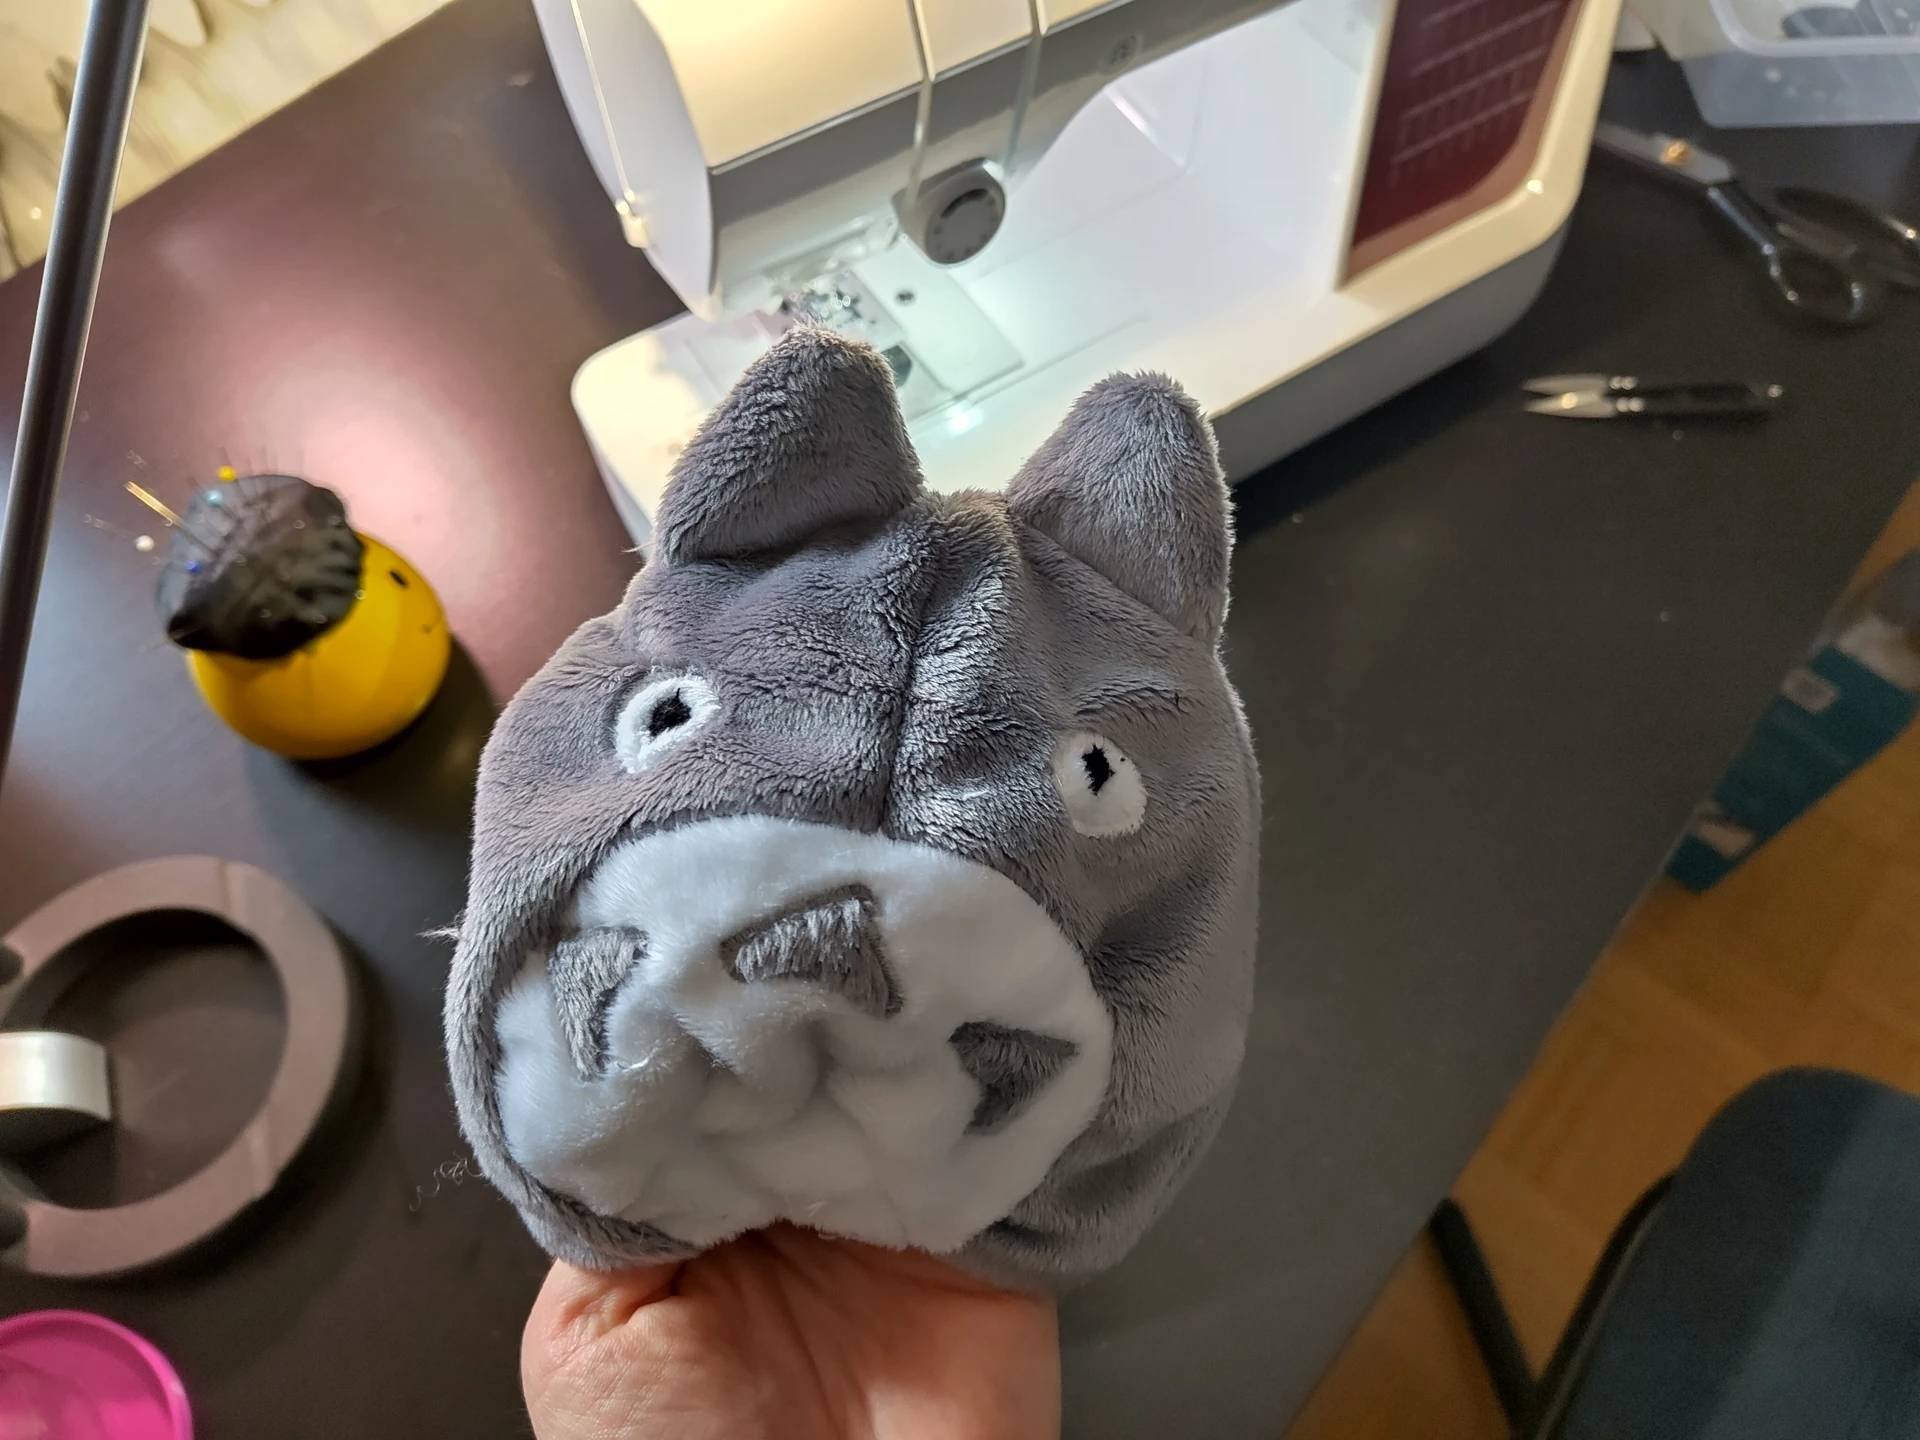
With those done I could print the pattern on 2x A4, didn’t really know what size to expect as that information gets lost when using the UV layout to get it from Blender into Inkscape. But turned out to be what I imagined it would be. Not too small, and not super large. I’ve opted for a more simpler design without nose and arms for a start since this was mostly figuring out if such a workflow would work (that is a strange sentence). But honestly, the nose would have been way too tiny anyway. I’m surprised the eyes even worked, the black part is actually fabric attached with a zigzag stitch around it like the chest markings, only that the pupils are like half cm diameter.
Well, I hope you like him. Turned out a bit grumpy and next project I will use more markings on the pattern so I can place the eyes at the correct spot without having to guess after most of it is assembled.

